

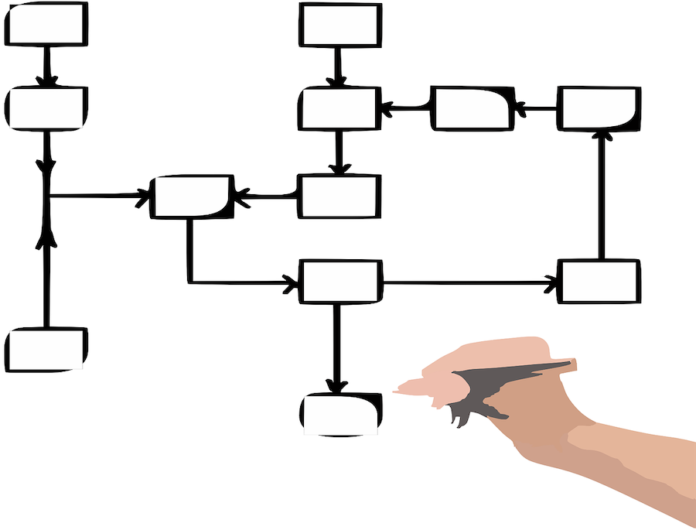
So you want to understand how to make a flowchart on a piece of paper? Well, you’re at the correct spot!
In this tutorial, we will teach you everything you ought to know about creating it. From its meaning to ways of creating it, we have everything covered here. But before learning how to construct a flowchart, we must foremost comprehend what it is.
What is a Flowchart?
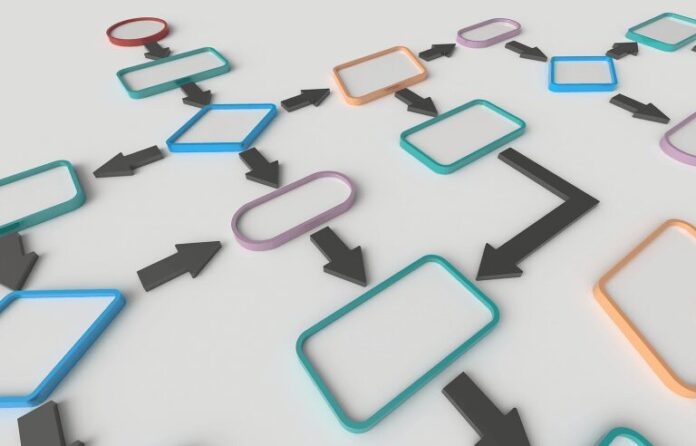
In straightforward words, a flowchart is a graphical representation of a technique for obtaining its top-down understanding. It is a type of chart that describes different processes by using symbols, often rectangular and linked by arrows. It helps you understand how a procedure works, what stages are included in it, the events that may change the outcomes, and so on.
We already know how to create a flowchart on Microsoft Word and PowerPoint. So, in this blog, we will show you how you can construct it using just a pen and paper. We hope just reading through this content helps you comprehend everything about making flowcharts from scrape.
How to Construct a Flowchart by Hand in a Few Steps?
Here we have mentioned a few simple measures to pursue creating a flowchart from the scratch. You may also visit zenflowchart.com to learn everything about creating a flowchart – the standards, rules, flowlines, and symbols.
1. Design a Layout of the Major Steps
Before starting any procedure, the first and foremost thing to do is, map out the essential steps. It helps you improve your efficiency by providing insight into the process. Besides, you brainstorm ideas for improvement, enhance communication flow, identify bottlenecks, and avoid delays.
That’s why, before you begin to make a flowchart for any project, take a sheet of lined paper and list all the steps that need to be completed. Drawing out all the main blocks representing the critical steps in the procedure helps obtain a better understanding. You don’t need to worry about going into the details as of now because you only need to have a rough idea.
Mapping out the main steps allows you to brainstorm different ideas, meaning you don’t ought to jump into the details. This stage also includes a procedure where you begin with a beginning block and continue your way until the end of the procedure.
2. Dive into the Necessary Elements
After outlining the main steps, it is time to jump into the details. In this stage, you must fill in the information left out in the first step. Here you have to include all the stages, even the tiny ones. We suggest you labor your way around in a natural order without worrying too much.
Some individuals prefer grouping clusters of steps together in this stage. If you’re also one of them, we recommended making a smaller flowchart on another sheet of paper. In this sheet, you can fill out the components of a block of the larger overview.
This stage is ideal for styling your chart according to your taste and preferences. You may include various figures and use colorful pens to make your piece look more appealing and effortlessly understandable to the audience.
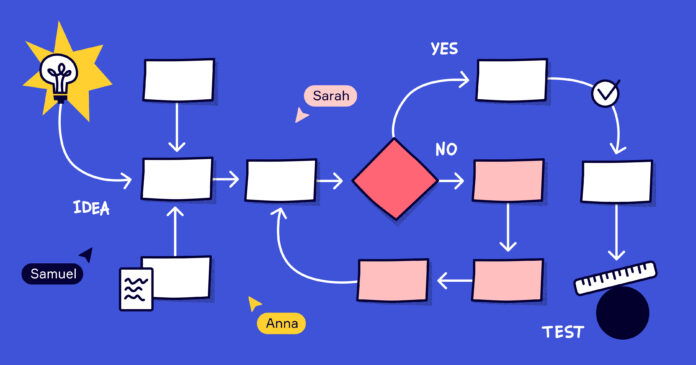
Since a typical flowchart is drawn from left to right or top to bottom, you must play safe by beginning to draw from the top-left corner of the sheet, using a pen. Now choose a flow that you find suitable. If you want to include questions in the chart, ask them in such a manner that one can answer yes or no to them. Before moving on to the next section, draw out your decision branches about the next stage.
3. Be Sure to Evaluate the Results

To ensure that your diagram is exhaustive, you must work through all the phases in the chart, once more. Re-examining your work will help you obtain a better understanding of the possible mistakes, faulty or poor design, or if your chart looks unappealing. It is the stage that will help you to ensure that no open-ended nodes are left.
This step permits you to take another look at your work. Here you examine whether you have left any section or if anything is incomplete. Before starting a new block, the most crucial thing to do is complete the previous part. A plus point of making a flowchart on a piece of sheet is that you can erase it if anything goes wrong or if you remember to add more points.
And if you discover a point that requires improvement, make sure you have enough options that include all the possible strategies and provide you with an optimal solution. After finishing the evaluation, you can take an eraser and draw the chart again.
4. Review it to Arrive at a Conclusion
Feedback and communication are essential stages you must take before concluding a project. When you are done with making the flowchart, review it with your team members or management to ensure that it accurately reflects the process. Feedback informs you about the loopholes in your work.
After reviewing your work, now is the time to conclude. Since it is the endpoint, you must highlight it using a colorful sketch pen or an eye-catching symbol. You may also label it with Finish.
Final Words
We hope this article helps you create a flowchart for your next project without worries. If you are unsure about drawing directly on a sheet of paper because you might have to erase everything if it goes wrong, you can use sticky notes. Get these sticky notes from your nearest stationery shop in two or three different sizes and multiple colors.
These notes can become the boxes of your flowchart, which you can later connect with lines using a pencil. After that, you can decide on the color and size coding for the memos – representing multiple hierarchies and functions within the chart and create it from there. Once done, you may replace the notes and lines with pen-drawn equivalents.


